Showing posts with label home. Show all posts

Tuesday, October 28, 2008

Finishing an unfinished wooden table

Another installment of Ye Olde Home Improvement Projects! I've had a simple unfinished wooden table from IKEA for a few years now in my kitchen. It's really annoying to do food prep on there because everything seeps into the wood, and it looks, well, unfinished. With the help of the internet, friends, and the local hardware store, I'd say the table is in good shape now!

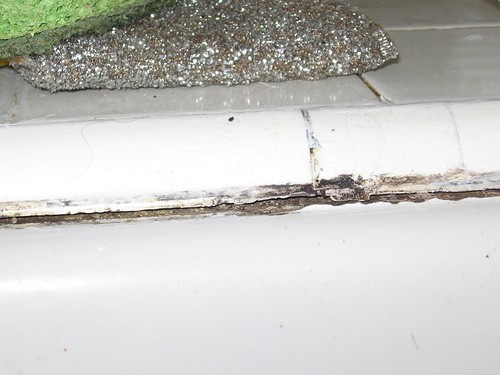
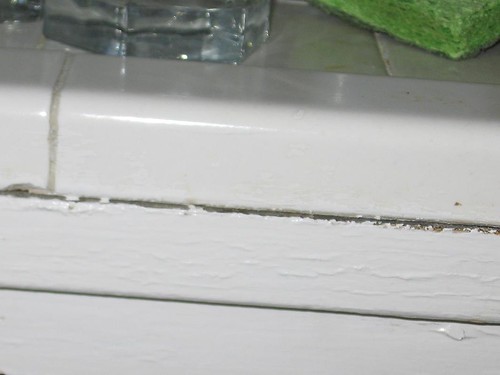
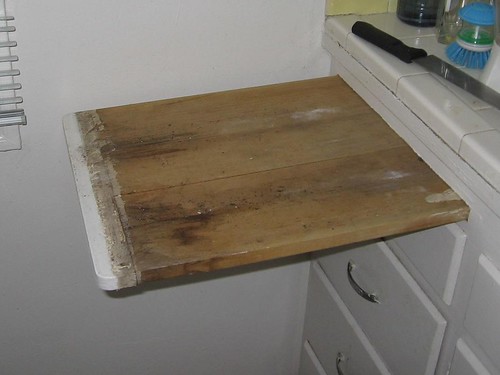
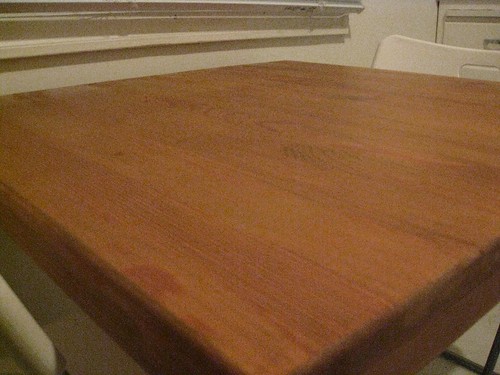
Here's a quick peek at the surface of the "before" table.
Sink project 4

First I sanded the entire visible surface of the table (including legs!), to remove gunk and to get it ready for staining. I went through a number of sandpaper pieces. I applied a neutral darker woodsy stain along the grain with a paintbrush and let it dry overnight. I didn't realize that stains don't protect the wood; they are merely cosmetic. D'oh. What the heck could I put on top of this?

Answer: polyurethane!

I got a foam brush at the hardware store to put on the coats. You have to wait 48 hours(!!) between coats, so yeah, varnishing wouldn't make a very good action movie subplot. (Maybe in an arthouse indie film where watching paint dry is a metaphor for modern society.) Also make sure that it's a well-ventilated area.

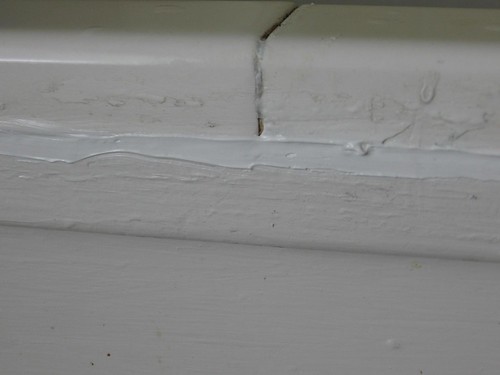
I sanded the stained table and applied the first coat over the entire stained area. For the second coat, I sanded and reapplied only on the surface of the table. Now 48 hours later, here is the result:
INGO Table
INGO table
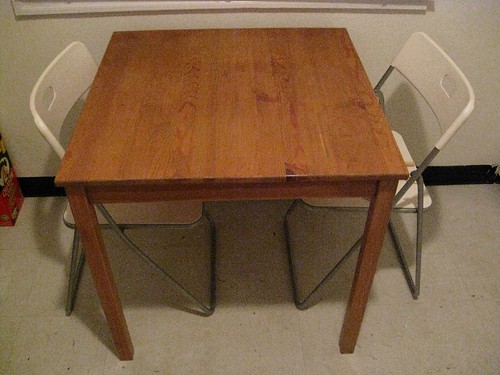
I got a few scratches on it when I accidentally sanded against the grain, but overall, it looks like a smooth finish and is repelling water and all that good stuff. Now it looks like real furniture and not poor student temporary digs!

Monday, July 28, 2008

Caulking the sink, plus a bonus

Yet another home improvement project. I decided the giant gaps inbetween the sink and the counter were not ok. Especially since ants use it like the Holland tunnel. Look at these gaping chasms.
Yuck!
Gah!

A quick trip to the hardware store, and I had all the equipment I needed: an all-purpose tube of caulky goodness.

Thumbs up indeed!

I made sure the sink was completely dry, and stripped off the old and no longer functioning caulky stuff. To open the tube, I cut it open at an angle.

Really, I used a karate chop.

It's kind of like using a tube of toothpaste. I squeezed out the caulk directly into the gap, making a neat line.

Minty fresh

I then ran my finger under water and pressed it firmly into the caulk and evened out the texture. How's that for power tools?

So fresh, so clean clean

You have to let it dry for at least 24 hours. And then, voila! The sink was as new. And the ants were nowhere in sight.

Rawk!!

Bonus project

I'd always been wondering about this little ledge sticking out over the drawers on one side of the sink. I had a sneaking suspicion that it wasn't just for decoration.

Hmmm... suspicious ledge

After inspecting the area around it, I took an old knife and began working the blade around the edges. Turns out that it had been painted over and this whole (3 year) time I've been living here, I've had a built-in cutting board!

With a little soap, you'll be ready to go!

Sunday, July 20, 2008

Rusty and leaky no more!

Plumber
There's a wee bit of a drought going on California right now. For some time my toilet has been making a constant 'drip drip drip' noise throughout the night. Putting on my Sherlock Holmes cap, I deduced that this sound was most likely water. Finally I decided it was time to do something about this. I have to admit, I'd never tried any home repairs of the... aquatic variety. Luckily the internet is my friend and showed me the diagrams of toilets' inner workings. Did you know how many symptoms faulty toilets can have? They can leak from the tank to the floor, the bowl to the floor, the tank to the bowl, groan, whistle, hiss, gurgle, crack, sing Celine Dion songs... you name it. Luckily, there are very few parts, and a lot of different problems involve the same parts.

Based on a few tests that would make a Bayesian proud, I determined that my flapper was the problem and water was leaking from the tank into the bowl. No no, not my 1920's fringey dress. The flapper is the main mechanism that makes the water go-no go into the bowl. It's connected by a chain to the toilet handle. An old flapper often gets 'wavy' on the sides and doesn't sit fully onto the round thing. (I'm sorry, I can only use so many technical terms before I descend back into my stock descriptors.) You know those toilets where you have to hold down the handle for a long time? It's totally the flapper's fault. Constant dripping sound? Flapper. Too much OR too little water for the flush? Flapper flapper flapper.

Anyway, all toilet replacement parts are super cheap at the hardware store. I bought a replacement flapper w/base combo that installs on top of the old one. I turned off the water supply via turning the valve thing and disconnected the supply tube. I drained the tank of water, and scraped out the considerable amount of rust that had accumulated. I then used a hairdryer to fully dry the round thingy area. The replacement thing mounted right on top of the old thing. I also put in a few bottles of water to try to minimize the water in the tank for the environment and all that. Now it works like a charm. Toilets are really one of the easiest things in the world to repair. So if yours is at all annoying, don't be afraid to use the internetz for diagnosis and cheaply replace the faulty parts. Score one for DIY!